1.0 Installing PatformIO and the ST STM32 platform
1.1 Install PlatformIO extension
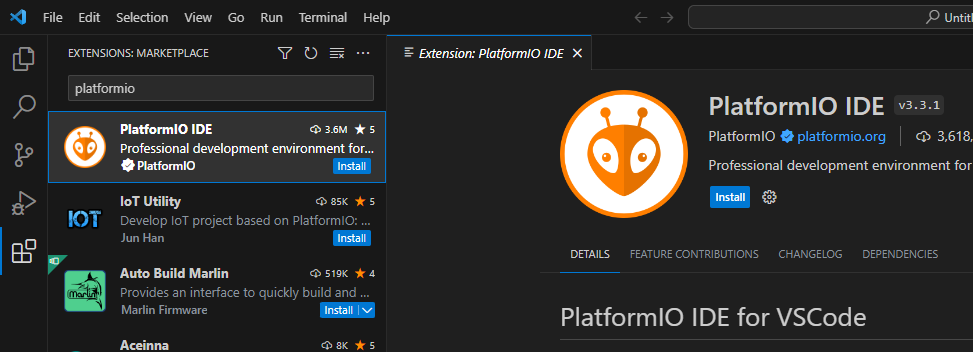
PlatformIO can be installed as an extension to VSCode in the extensions tab.
1.2 Install ST STM32 platform
Once installed, PlatformIO can be opened, and we can navigate to the Platforms menu, open the embedded tab and search for stm32:
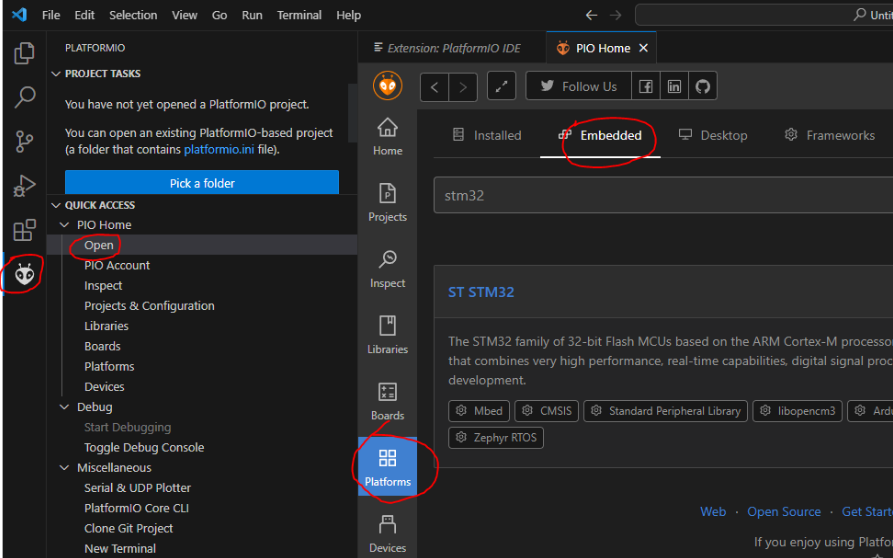
Click on the ST STM32 option and install it, this may take some time.
1.3 Force PlatformIO to download the stm32-arduino framework
Next, we have to make a project in order to force PlatformIO to install the arduino stm32 framework - this project can be deleted as soon as it’s created.
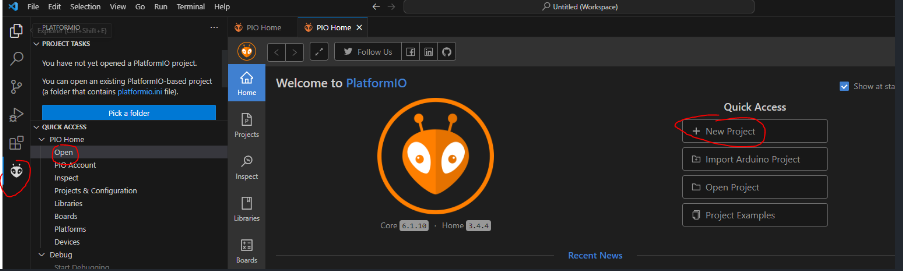
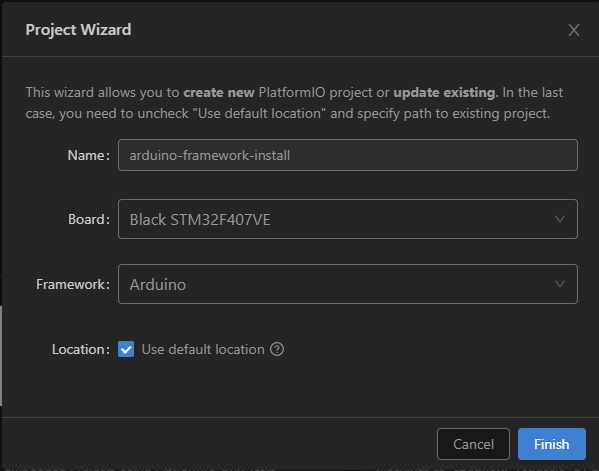
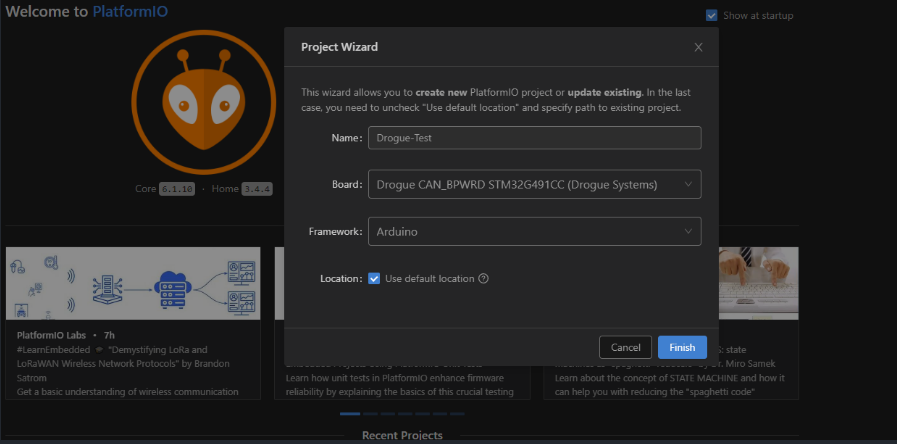
in the project wizard, choose any name you like and set the board to any STM32 board, set the framework to arduino and click finish. This may take some time as it will download the arduino-stm32 framework. Once this is complete the project can be deleted.
You may notice at this point that the Drogue CAN-BPWRD (or any STM32G491CC) board is not an option here. For now this isn’t a problem, and the steps in section 2 will show how to add it.
2.0 Adding PlatformIO support for the Drogue board.
In order to add support for this development board, we need to add and modify a few files in the PlatformIO core directory 1, 2. Each of the required files are provided in this Github Repo under the PlatformIO_Install folder.
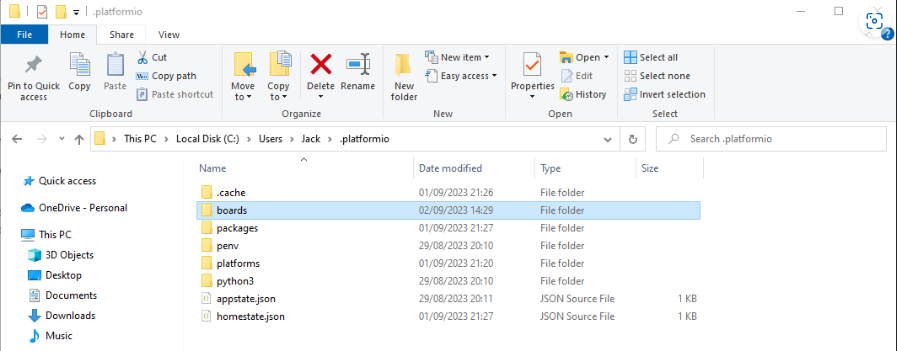
All of the following changes will occur in the PlatformIO core_dir.
On Windows this path may look like C:\Users\[USERNAME]\.platformio
2.1 Adding the board to the ST STM32 platform.
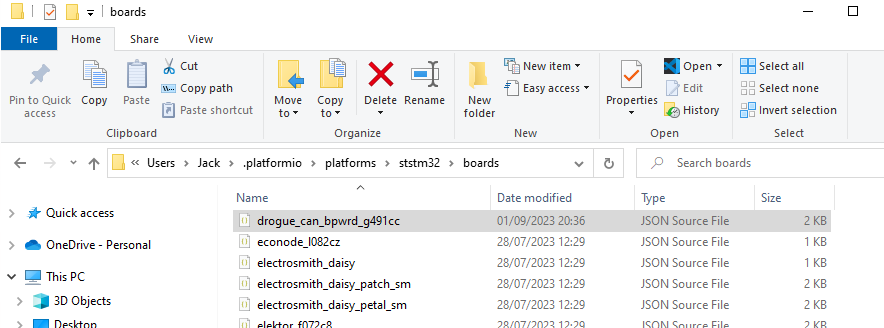
In the PlatformIO core directory, navigate to /platforms/ststm32/boards. This folder contains JSON files outlining specifications and details for different boards.
The JSON file for the Drogue CAN-BPWRD board can be found in the PlatofmIO_Install/ststm32_platform_files folder in this repo, named drogue_can_bpwrd_g491cc.json.
Copy the drogue_can_bpwrd_g491cc.json JSON file into the /platforms/ststm32/boards folder.
2.2 Adding the board to the stm32-arduino framework
2.2.1 Adding Variant Files
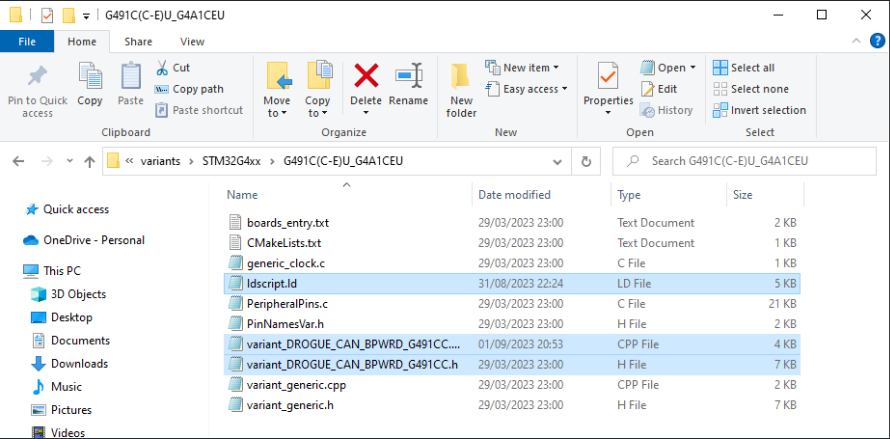
In the PlatformIO core directory, navigate to /packages/framework-arduinoststm32/variants/STM32G4xx/G491C(C-E)U_G4A1CEU. This folder contains information specific to boards using the STM32G491C series MCU’s.
The files found in PlatformIO_Install/arduino_framework_files/variants should all be copied into this folder.
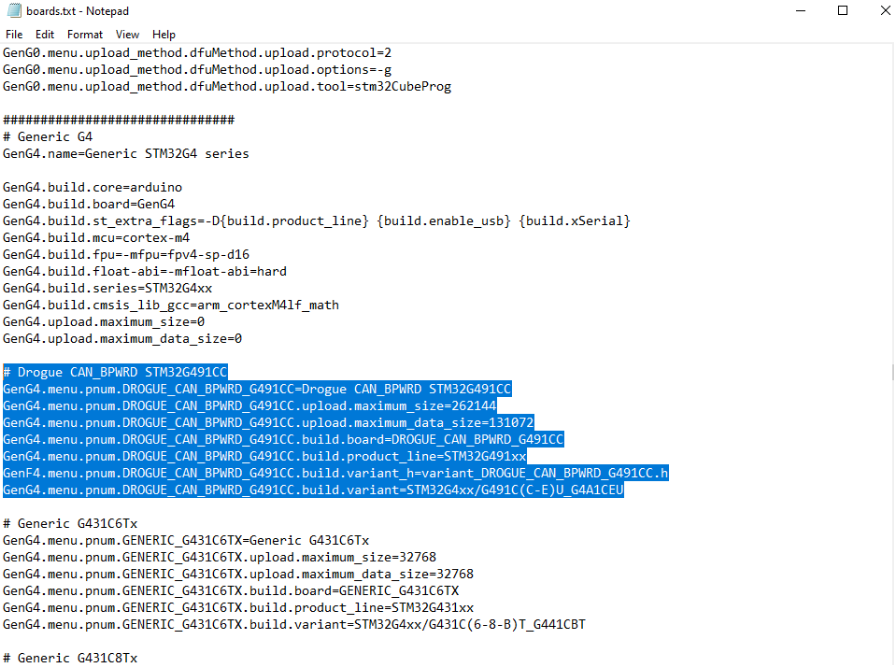
2.2.2 Add entry to boards.txt declaration
In the PlatformIO core directory, navigate to /packages/framework-arduinoststm32/boards.txt. This file contains the declaration for all of the boards in the arduino framework.
using a search function find the section for Generic G4.
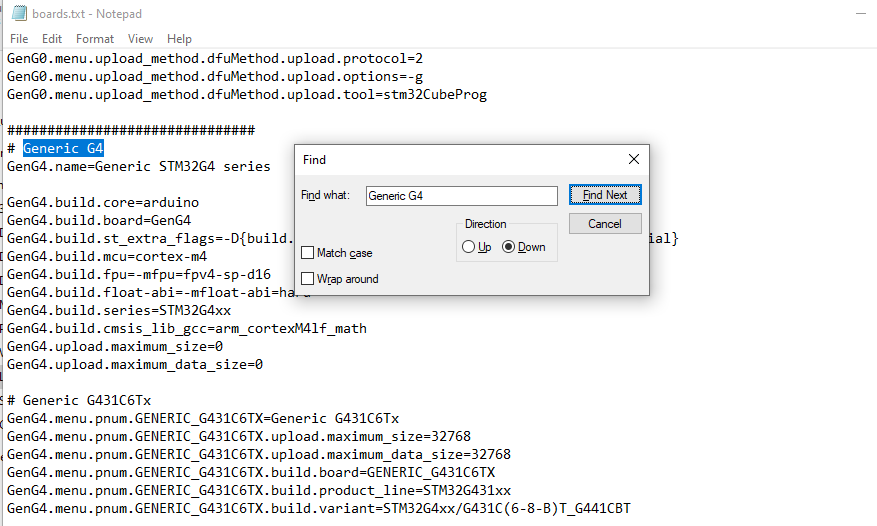
Copy the contents of the board-entry.txt file found in the PlatformIO_Install/arduino_framework_files folder of this repo and paste it into the boards.txt file just before the first generic board entry:
Save and close the boards.txt file.
2.3 Add the board to the PlatofrmIO core
In the PlatformIO core directory, create a new directory named boards
Into this directory, copy the drogue_can_bpwrd_g491cc.json file found in the PlatofmIO_Install/ststm32_platform_files folder in this repo.
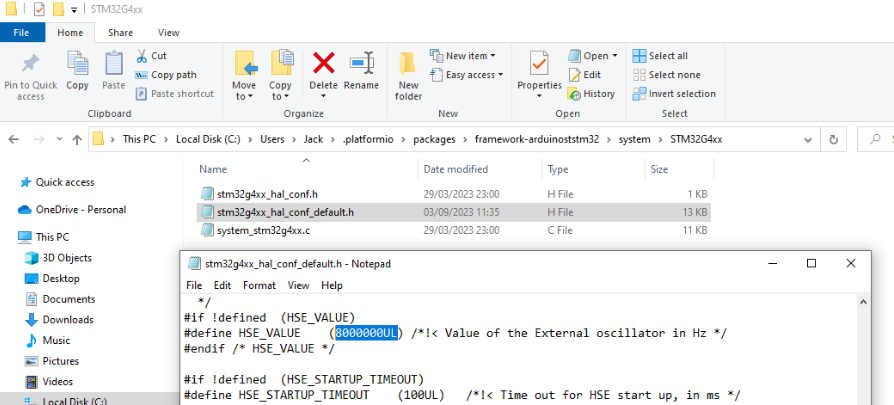
2.4 Edit the default HSE clock speed
In the PlatformIO core directory, navigate to packages/framework-arduinoststm32/system/STM32G4XX and open the file name stm32g4xx_hal_conf_default.h
Find the line which reads #define HSE_VALUE and set the value in brackets to 8000000UL. This lets the framework know that the Drogue CAN-BPWRD board has an 8MHz external oscillator instead of a 24MHz one. Without this change the board would run at 1/3 the target speed.
3.0 Testing
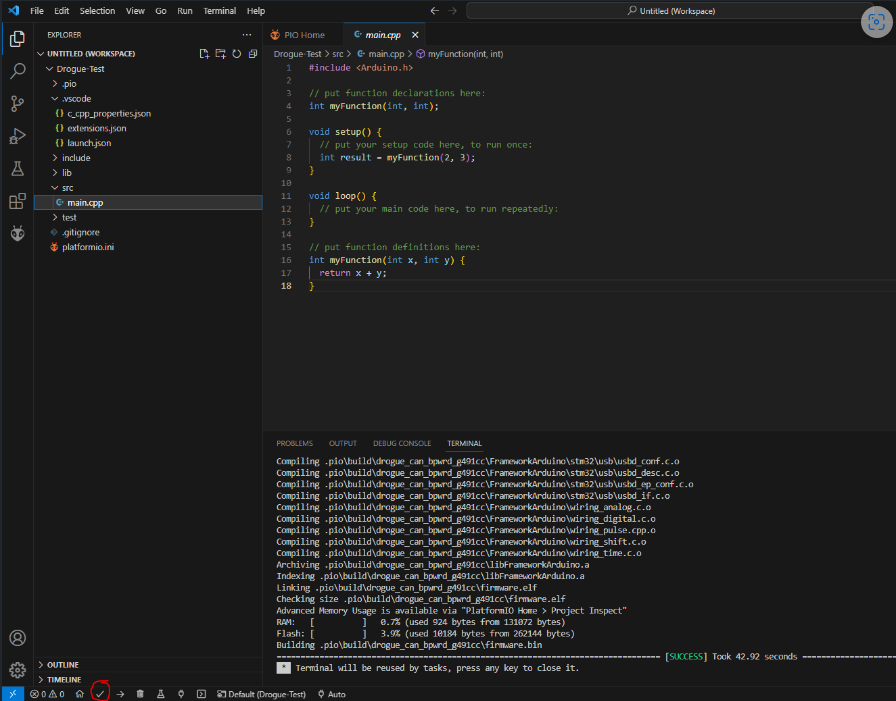
Once section 2 is complete, the Drogue CAN-BPWRD board should be available when creating a new project:
This will generate a project with some basic arduino code. Test building by clicking the tick at the bottom of the screen: